A Creative Furniture Makeover: Transforming The Cutest Dresser
Apr 04, 2024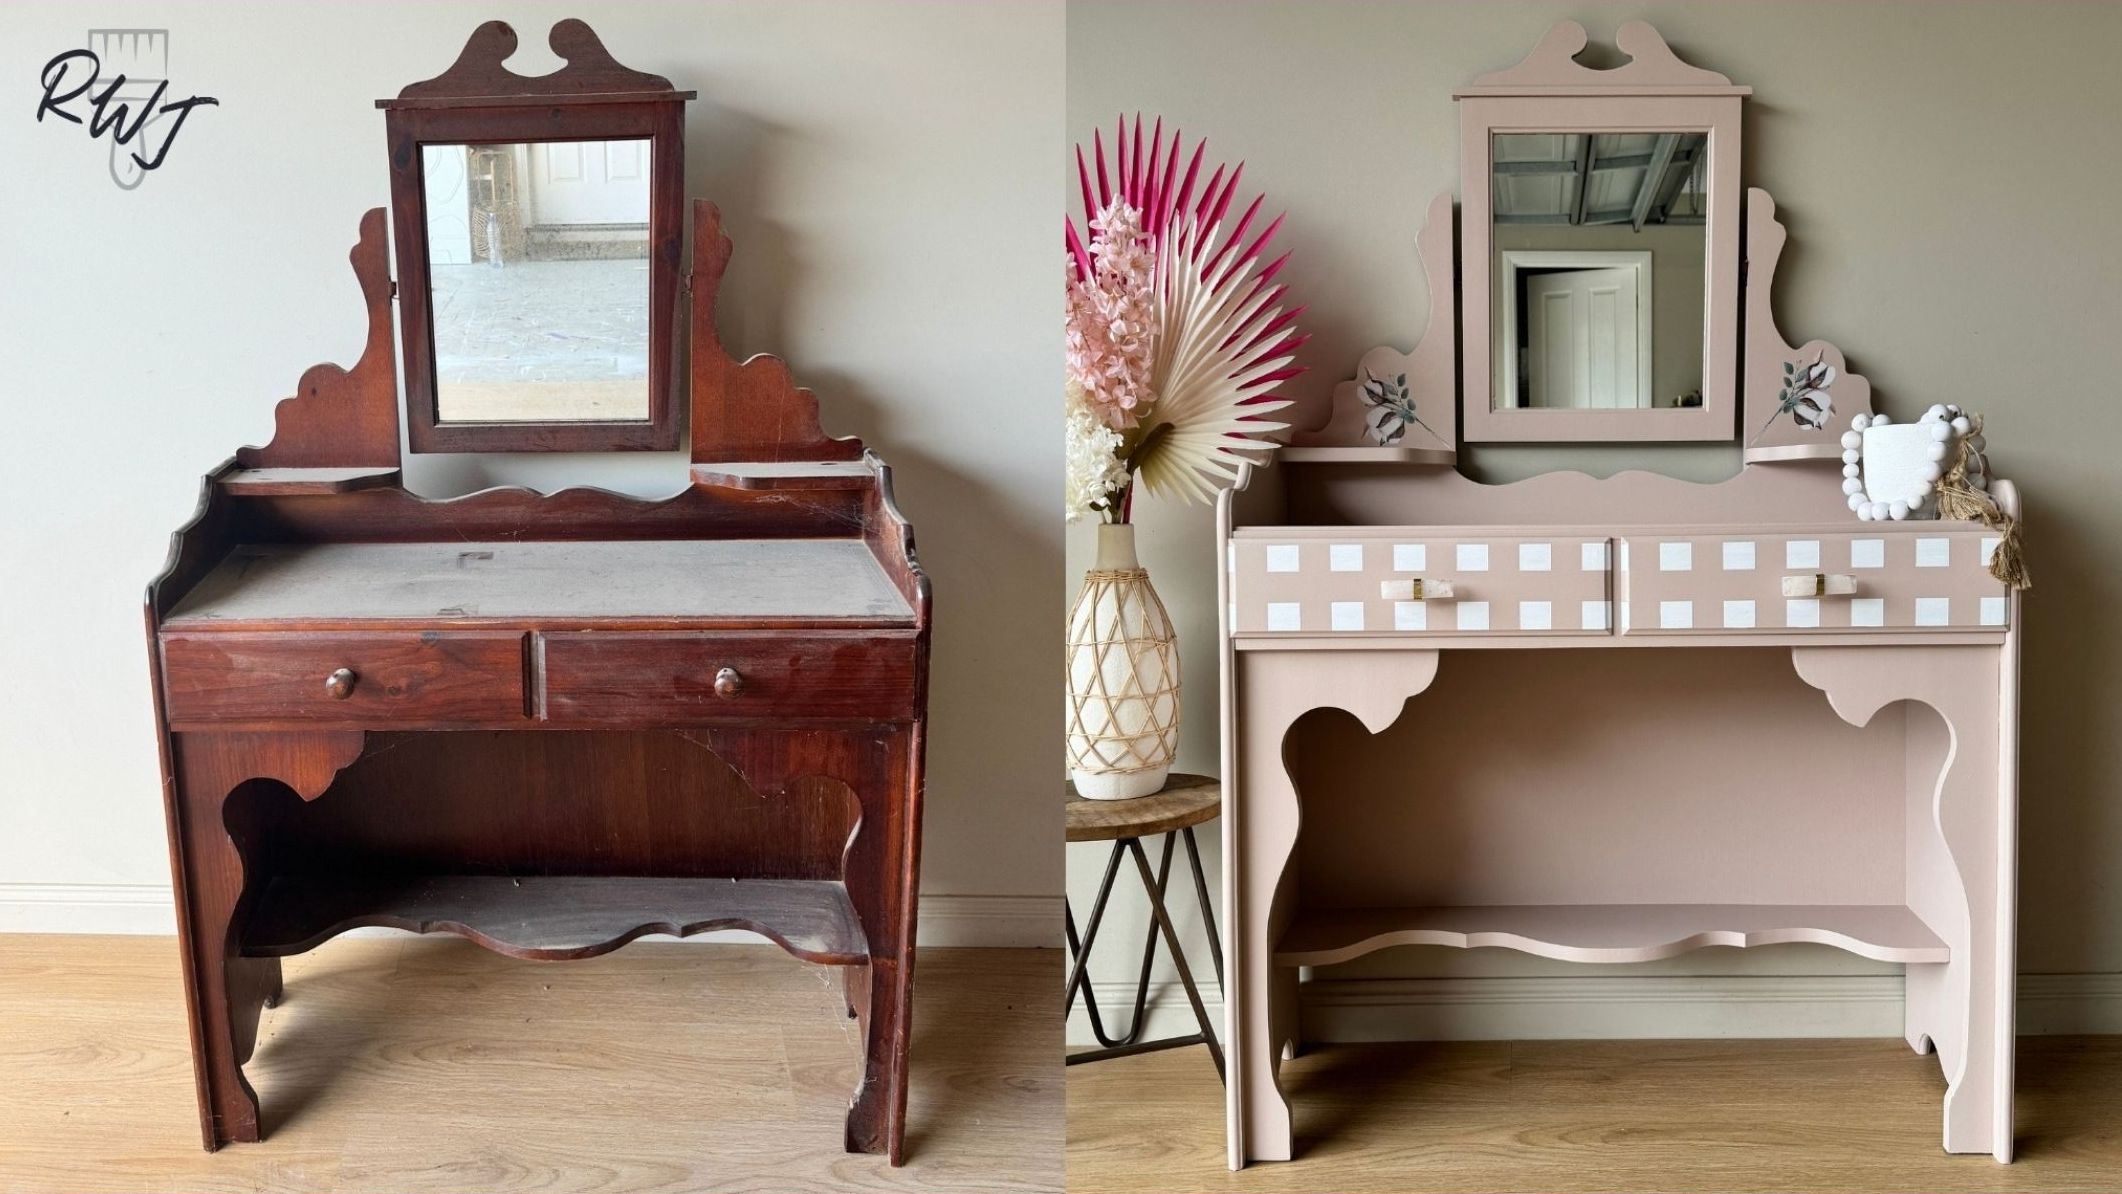
Transforming The Cutest Dresser
When I came across this piece of furniture, I knew I just had to have it. I fell in love instantly the second I saw it with all of its beautiful details and curves. I wasn't ready to flip this piece of furniture at the time, so I just put it in storage and then forgot all about it. But the time has come to flip it and turn it into something spectacular.

Products Used:
Primer - Mint By Michelle - https://mintbymichelle.com/?ref=pblG0...
Pink Paint - Ballet Flats - Mint By Michelle - https://mintbymichelle.com/?ref=pblG0...
White Paint - Fresh Sheets - Mint By Michelle - https://mintbymichelle.com/?ref=pblG0...
Tricleanium Degreaser - https://amzn.to/3ufNl47 (Amazon)
Paint Brush - Mint By Michelle - https://mintbymichelle.com/?ref=pblG0...
Makita Battery Sander Skin & Battery - https://amzn.to/3ObE5EP
Frog Tape - https://amzn.to/3STVeG8
*Some of the above links may be affiliate links. If you purchase a product through the affiliate links it will not cost you any extra but it will really help me to continue to provide you with great content. I appreciate your support.
Since this piece has been in my storage for quite some time, it is really dusty, so I started off by giving it a little bit of a sweep to get rid of all the dust.

Once I'd removed the bulk of the dust, I needed to give the piece a deep clean. So I mixed up a Degreaser and started cleaning the piece.

There are two different ways that you can do this. You can clean the piece prior to doing your scuff sand and then again after doing your scuff sand. Or if you find that there's not going to be a lot of grease that you're going to be able to push into the timber when you do your scuff sand, you could just skip this cleaning before process and just do your deep clean after you've done your scuff sanding.

Once I finished cleaning the piece, I took it apart, took the drawers out, and then took the mirror off. It's going to be easier to paint them all separately. Now that I've removed the handles, I just gave the inside of the drawers a deep clean as well with my Degreaser.

Once I was finished with my initial clean, I grabbed all my safety gear because it's super important that you do use safety gear whenever you're using any power tools.

I'm using a 120 grit sandpaper on the orbital sander and just going over the entire piece to lift off the old varnish and scuff sand the surface to get it ready to be painted. I am going to be using an adhesive primer, but giving a piece a scuff sand is just going to help make it extra durable because I've decided that I'm not going to be leaving any raw components of timber on this piece, and I'm going to be painting the whole thing.
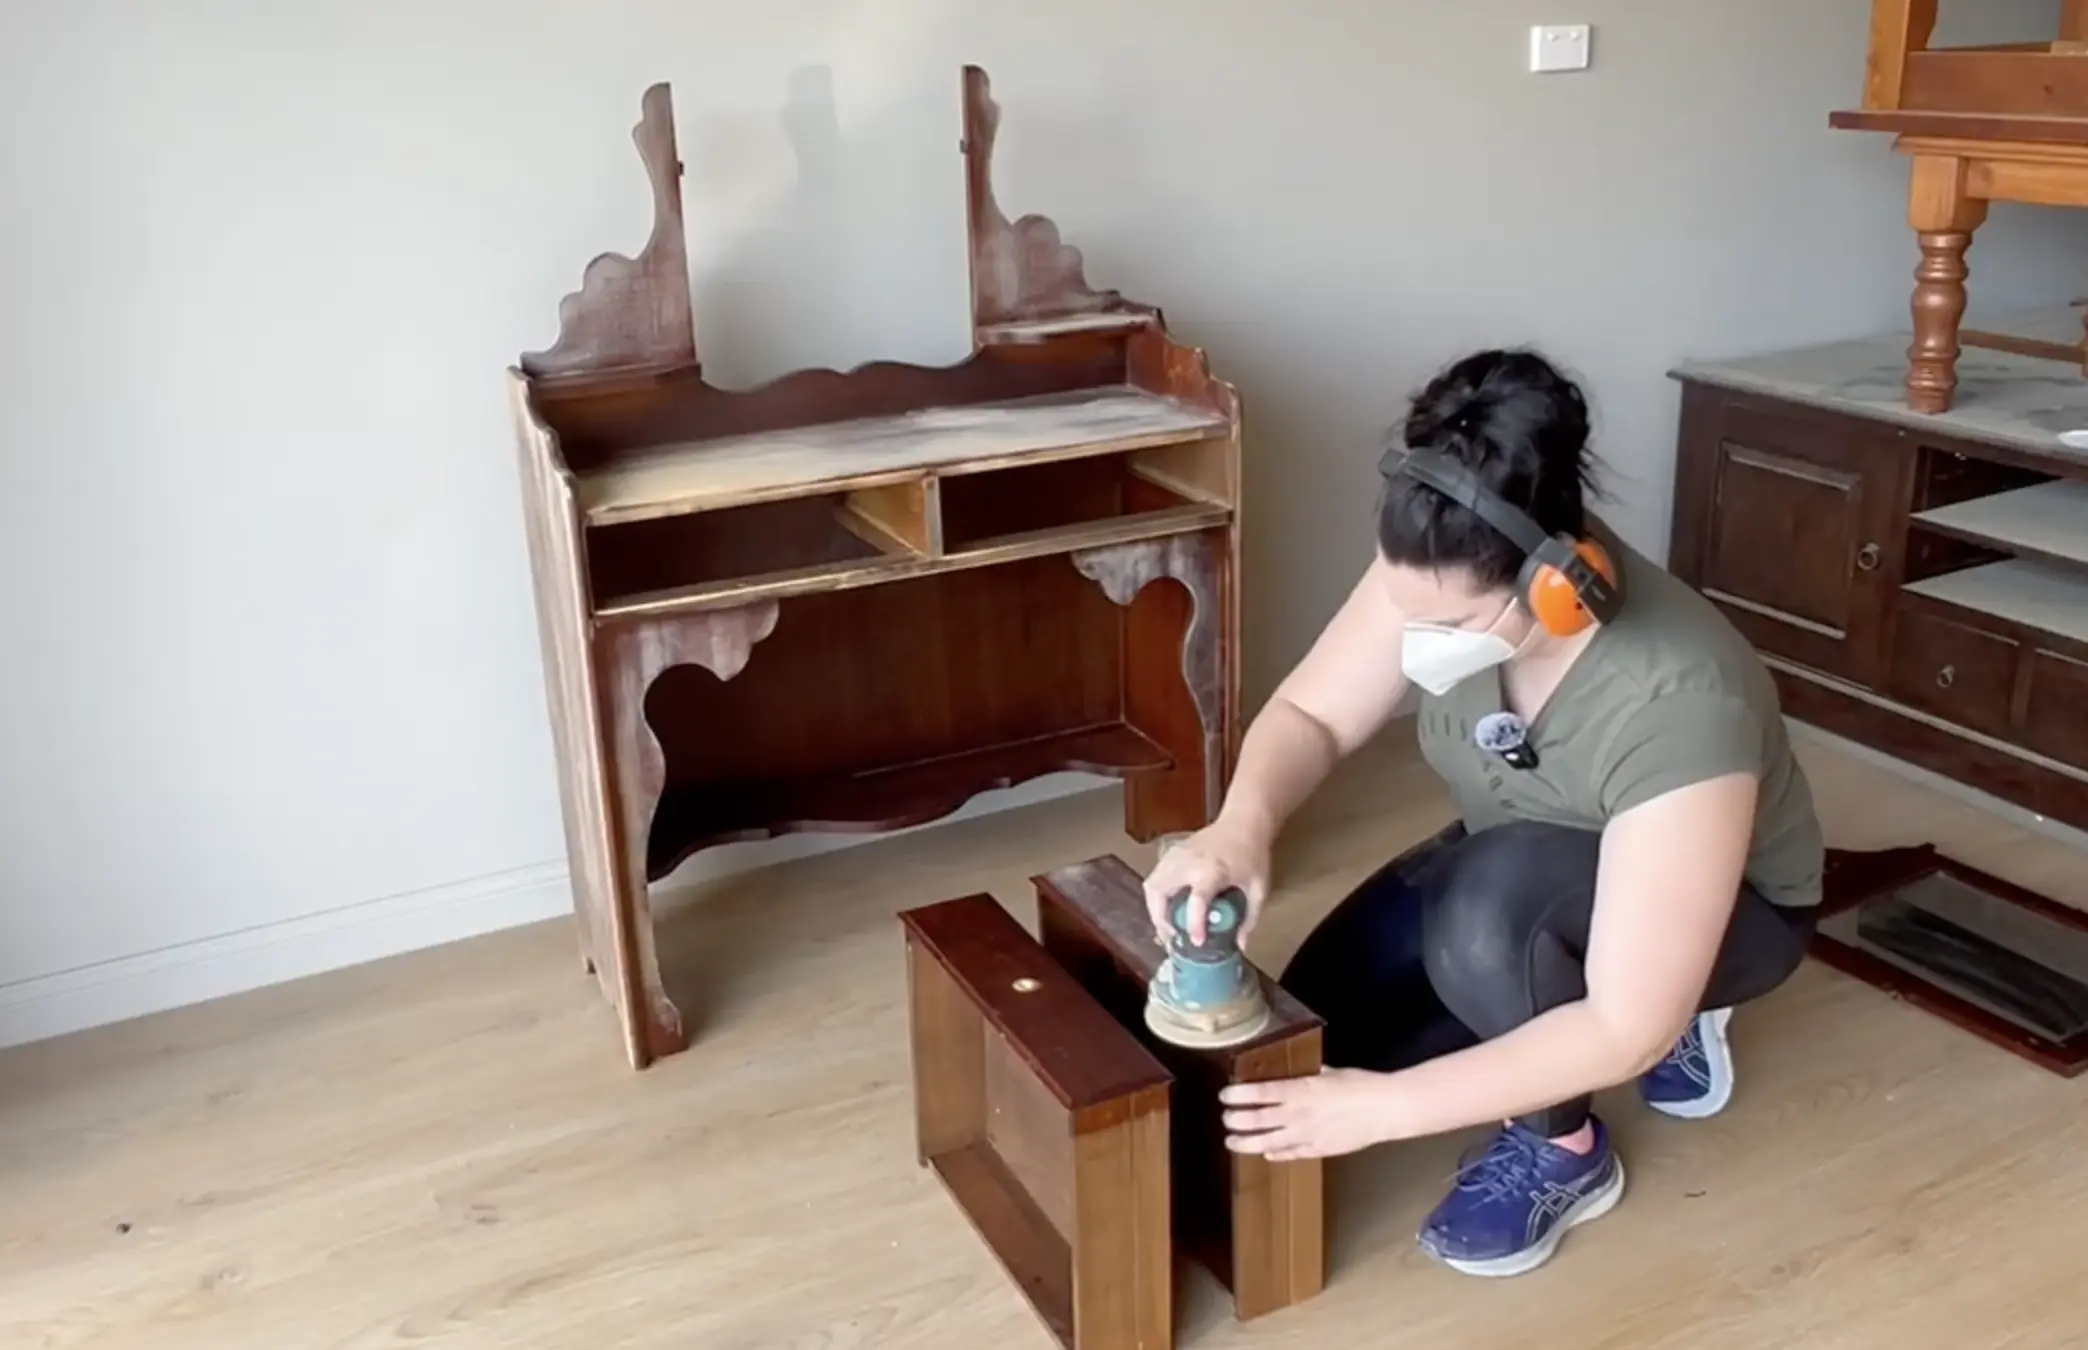
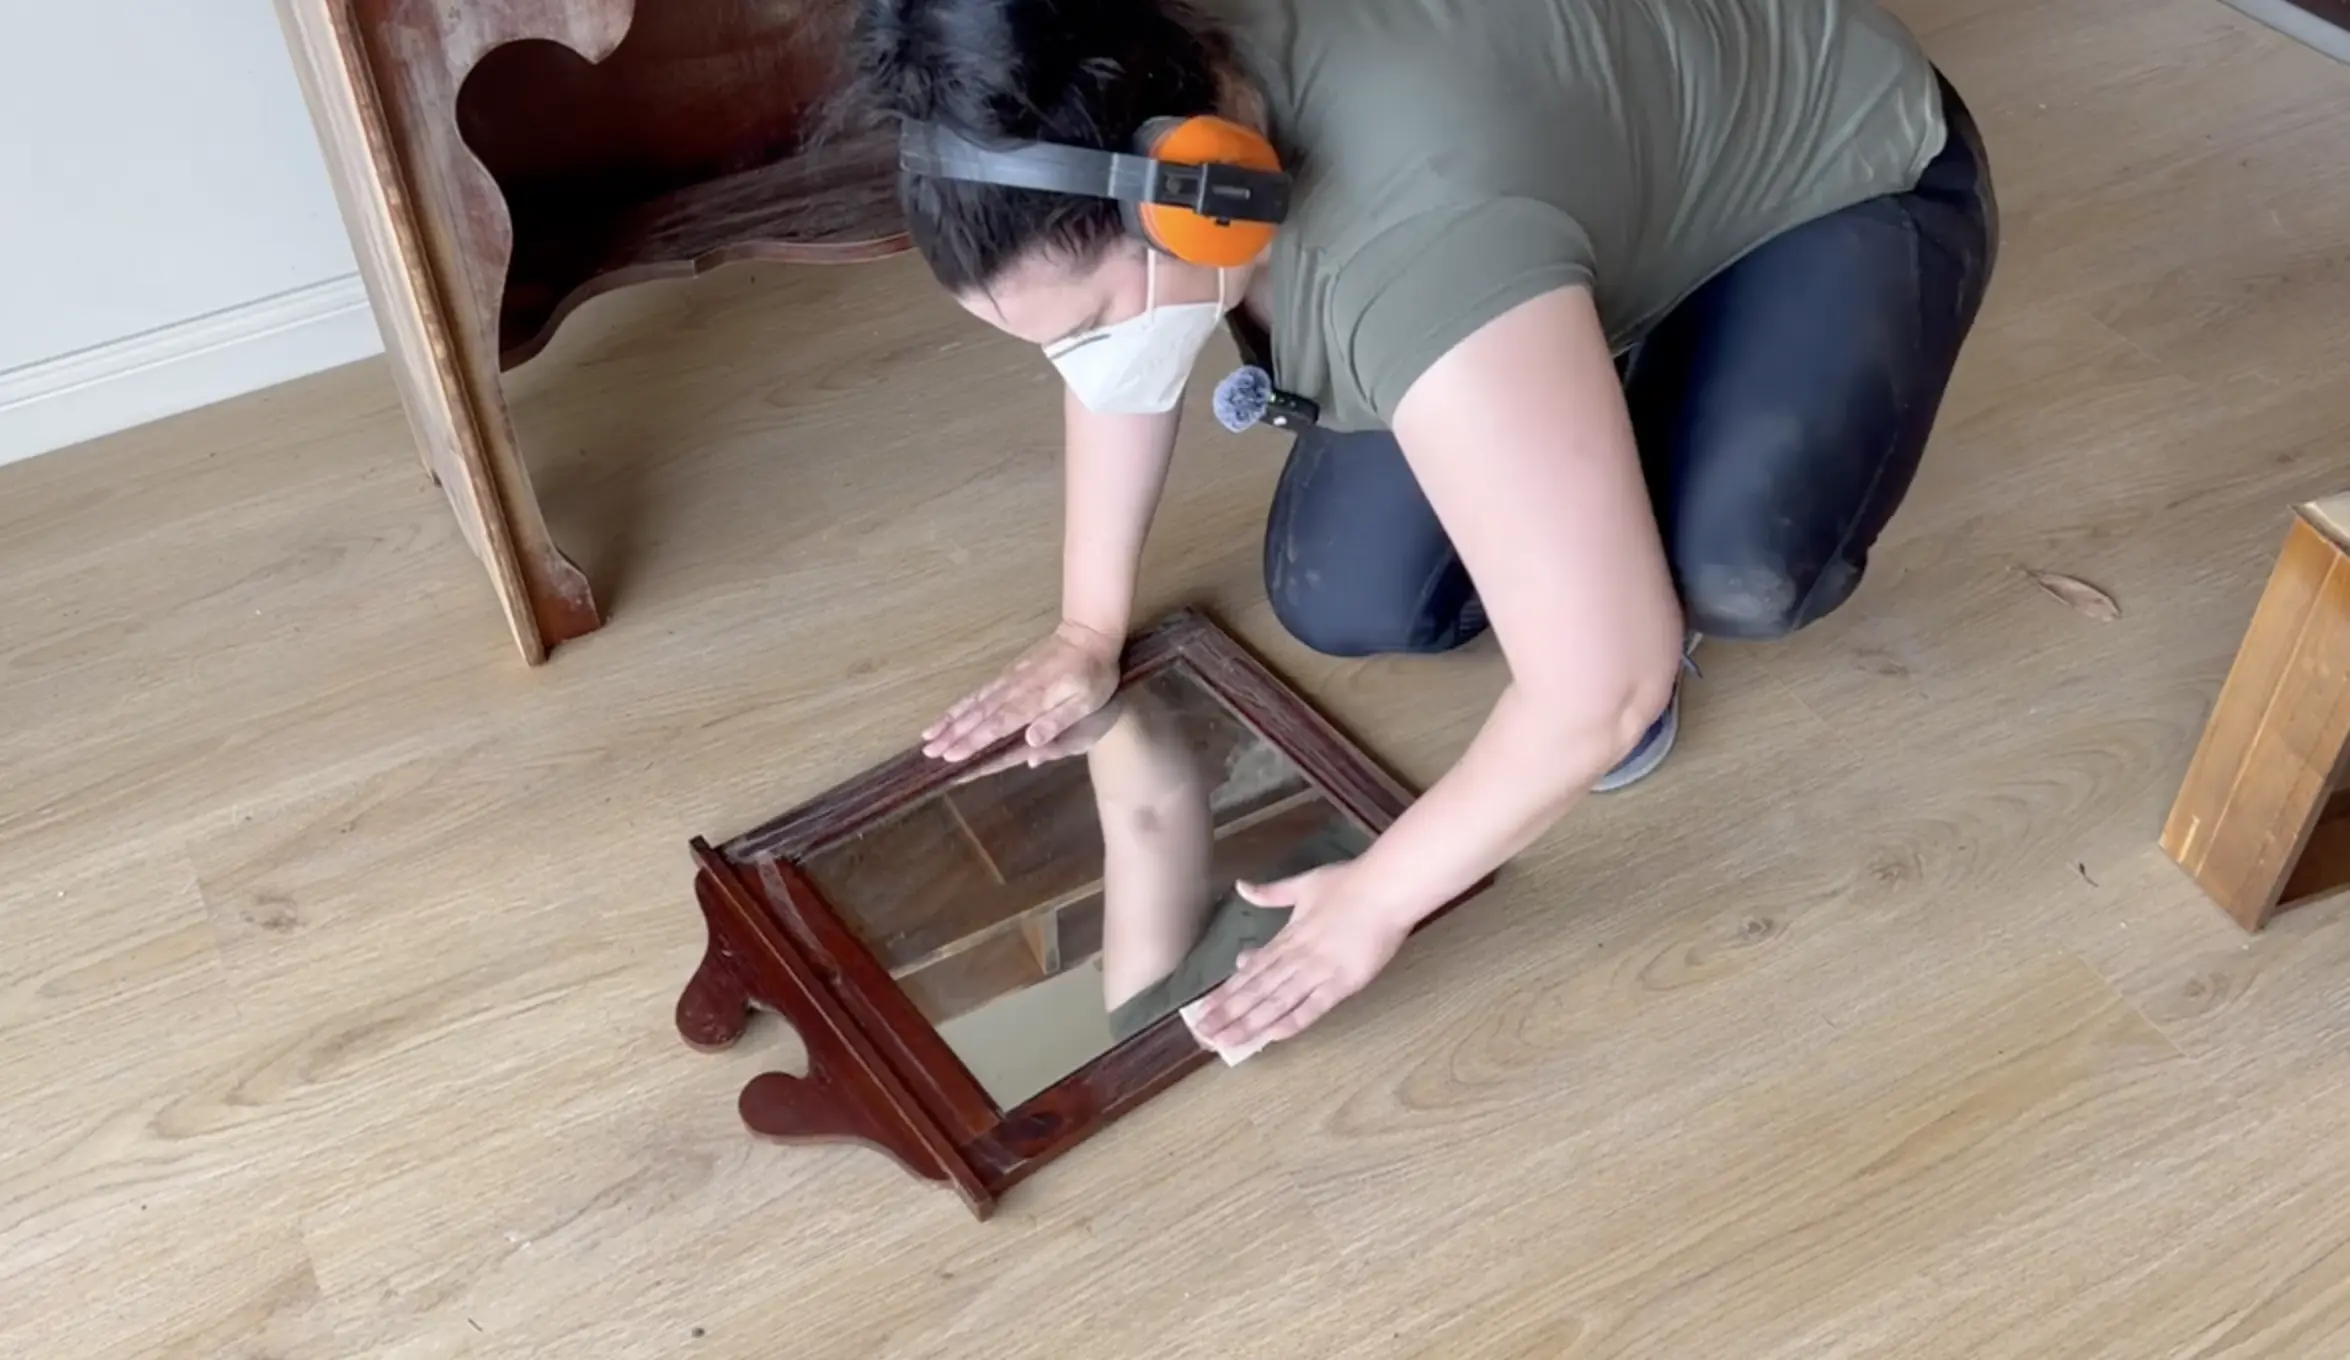
I need to give everywhere a scuff sand, and because this piece has quite a lot of intricate details, I do need to just get a piece of sandpaper out and then go through and sand by hand all of the areas that I couldn't get to with my orbital sander.
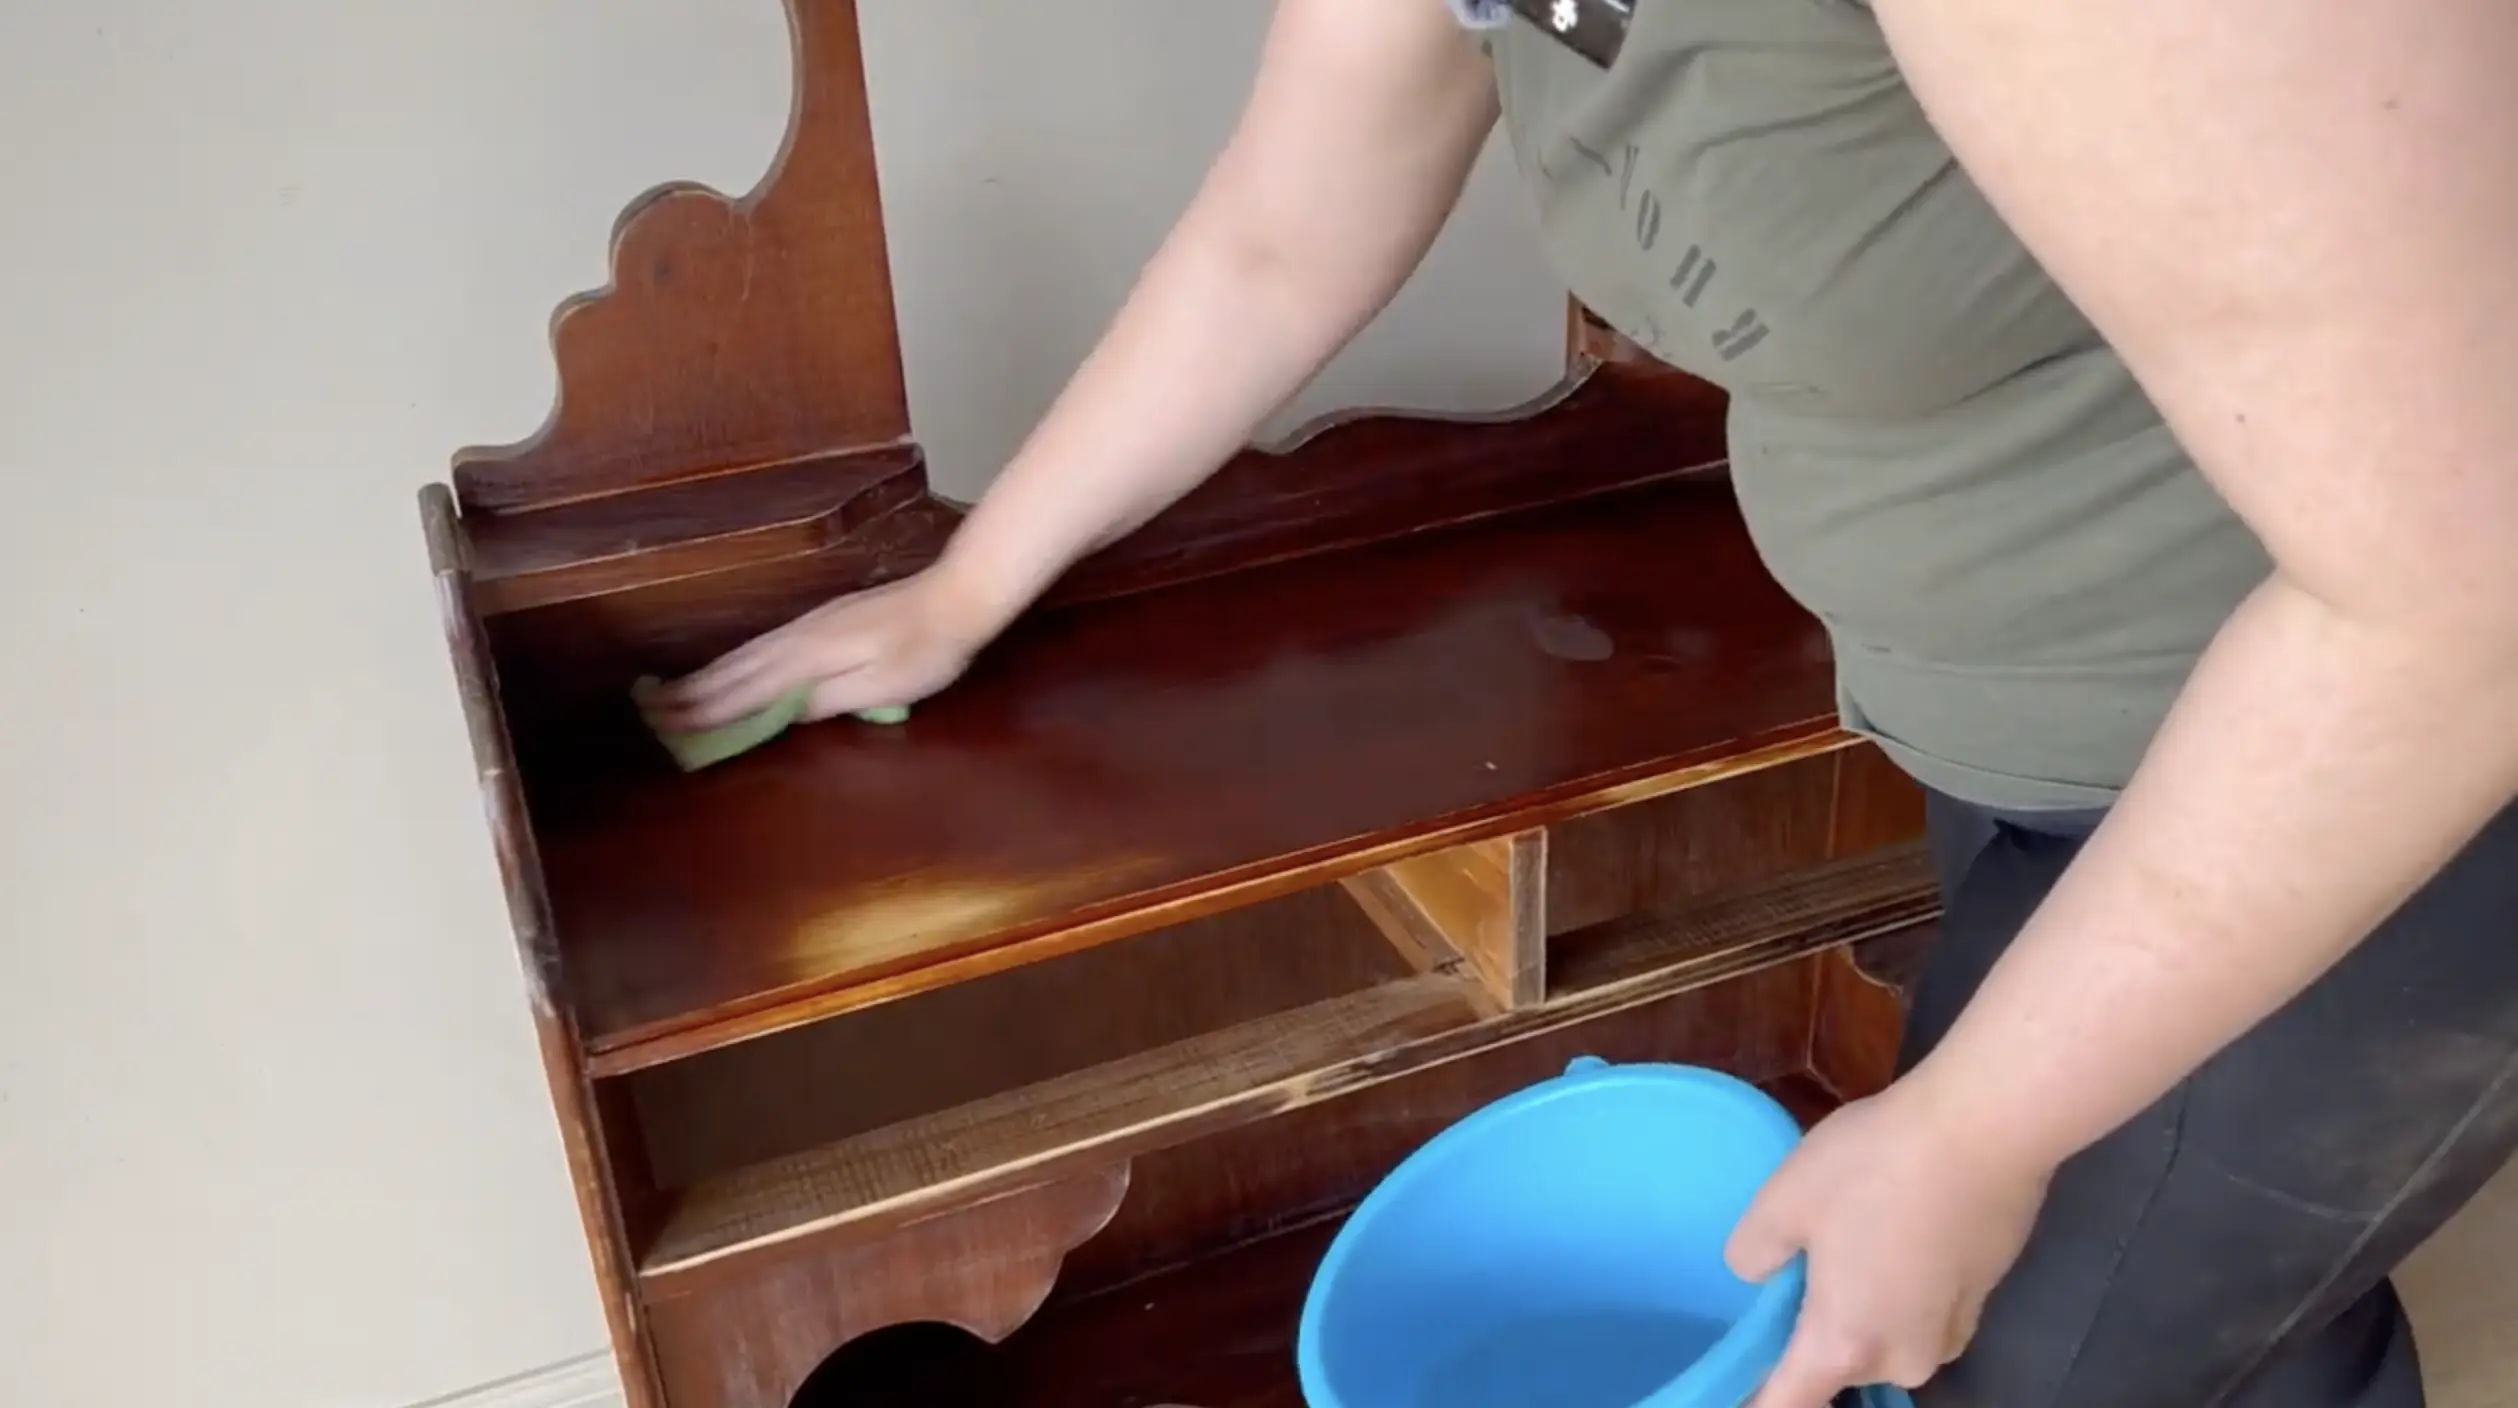
Now that I've finished all the scuff sanding, I'm going to do another deep clean of the piece. This clean is going to leave the piece nice and clean of any residue so that I can start applying the primer. You just need to make sure that you get all of that sanding dust off as well because you don't want any of that dust to be in your paint.
I painted the primer onto the whole piece using a paint brush and roller. I find that when I’m working on smaller piece of furniture it’s actually easier to use a paint brush and roller than a paint sprayer because you use so much more paint when you spray and it can be just as quick to use a paint brush.
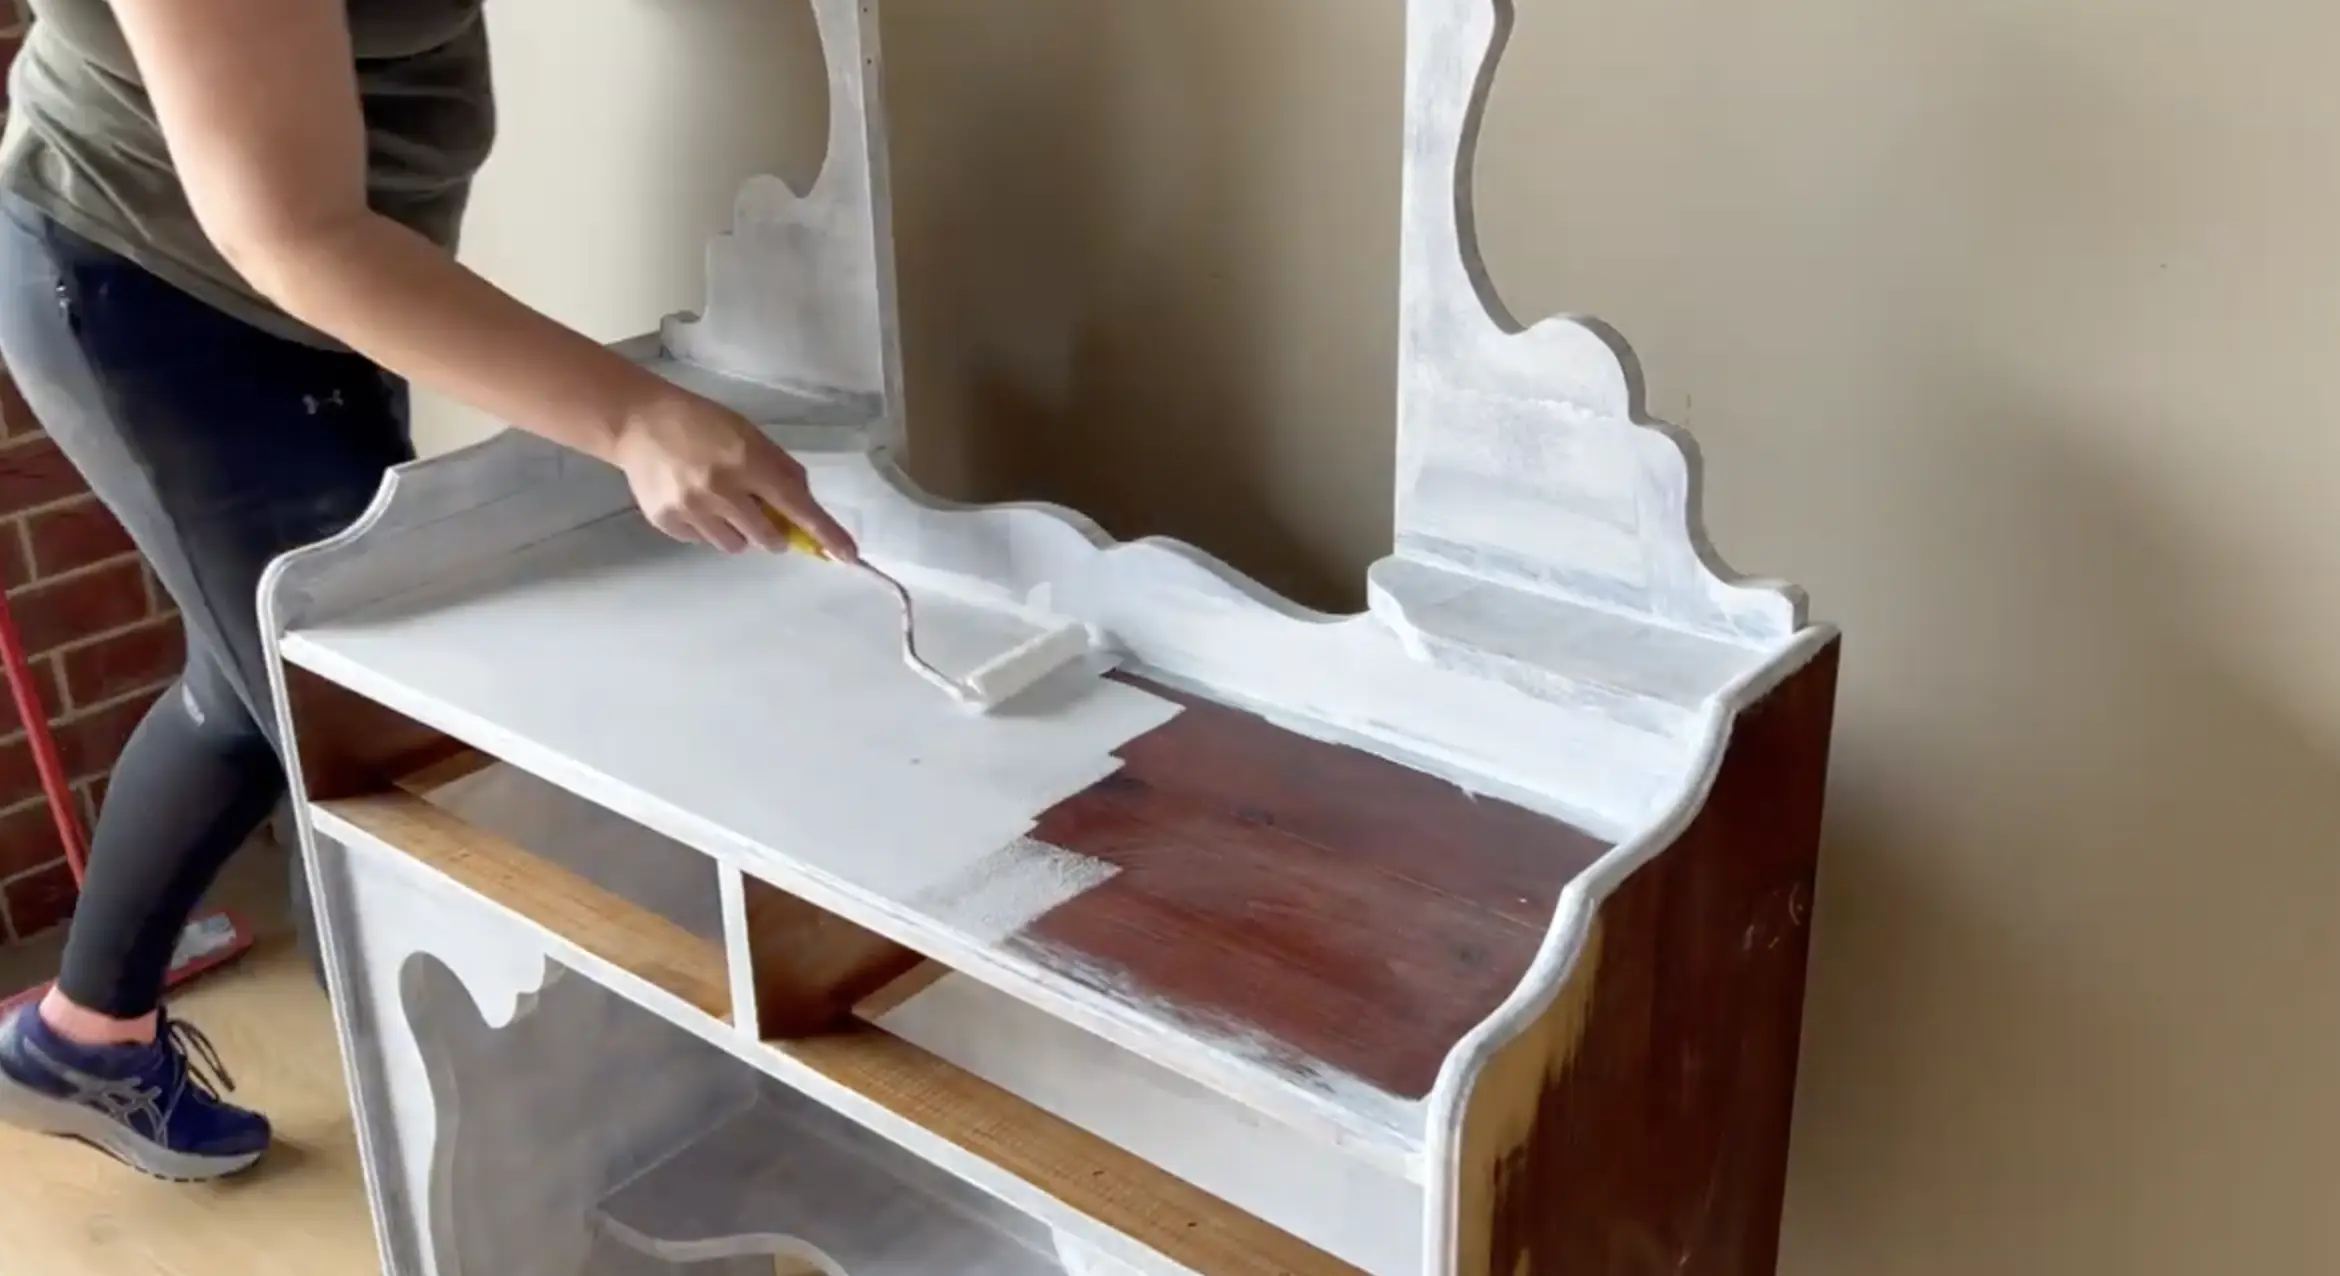
Once the main part had been primed, I then applied some masking tape onto the mirror, painted the mirror, and also the front of the drawers.

Once the primer was done, it was time to paint the actual colour of the piece, and I've selected a beautiful pink colour called "Ballet Flats."

I once again used my paintbrush and my roller to paint this first coat onto the entire piece, let that dry, and then painted a second coat of this same colour onto the entire piece as well.
Now for the fun part of painting the extra colour in the gingham squares.

Basically, I decided that I was going to use white, which is probably the hardest colour to use to paint over the top of another colour. I then needed to paint four different coats of this white over the top just to make sure that I had a really nice solid white.
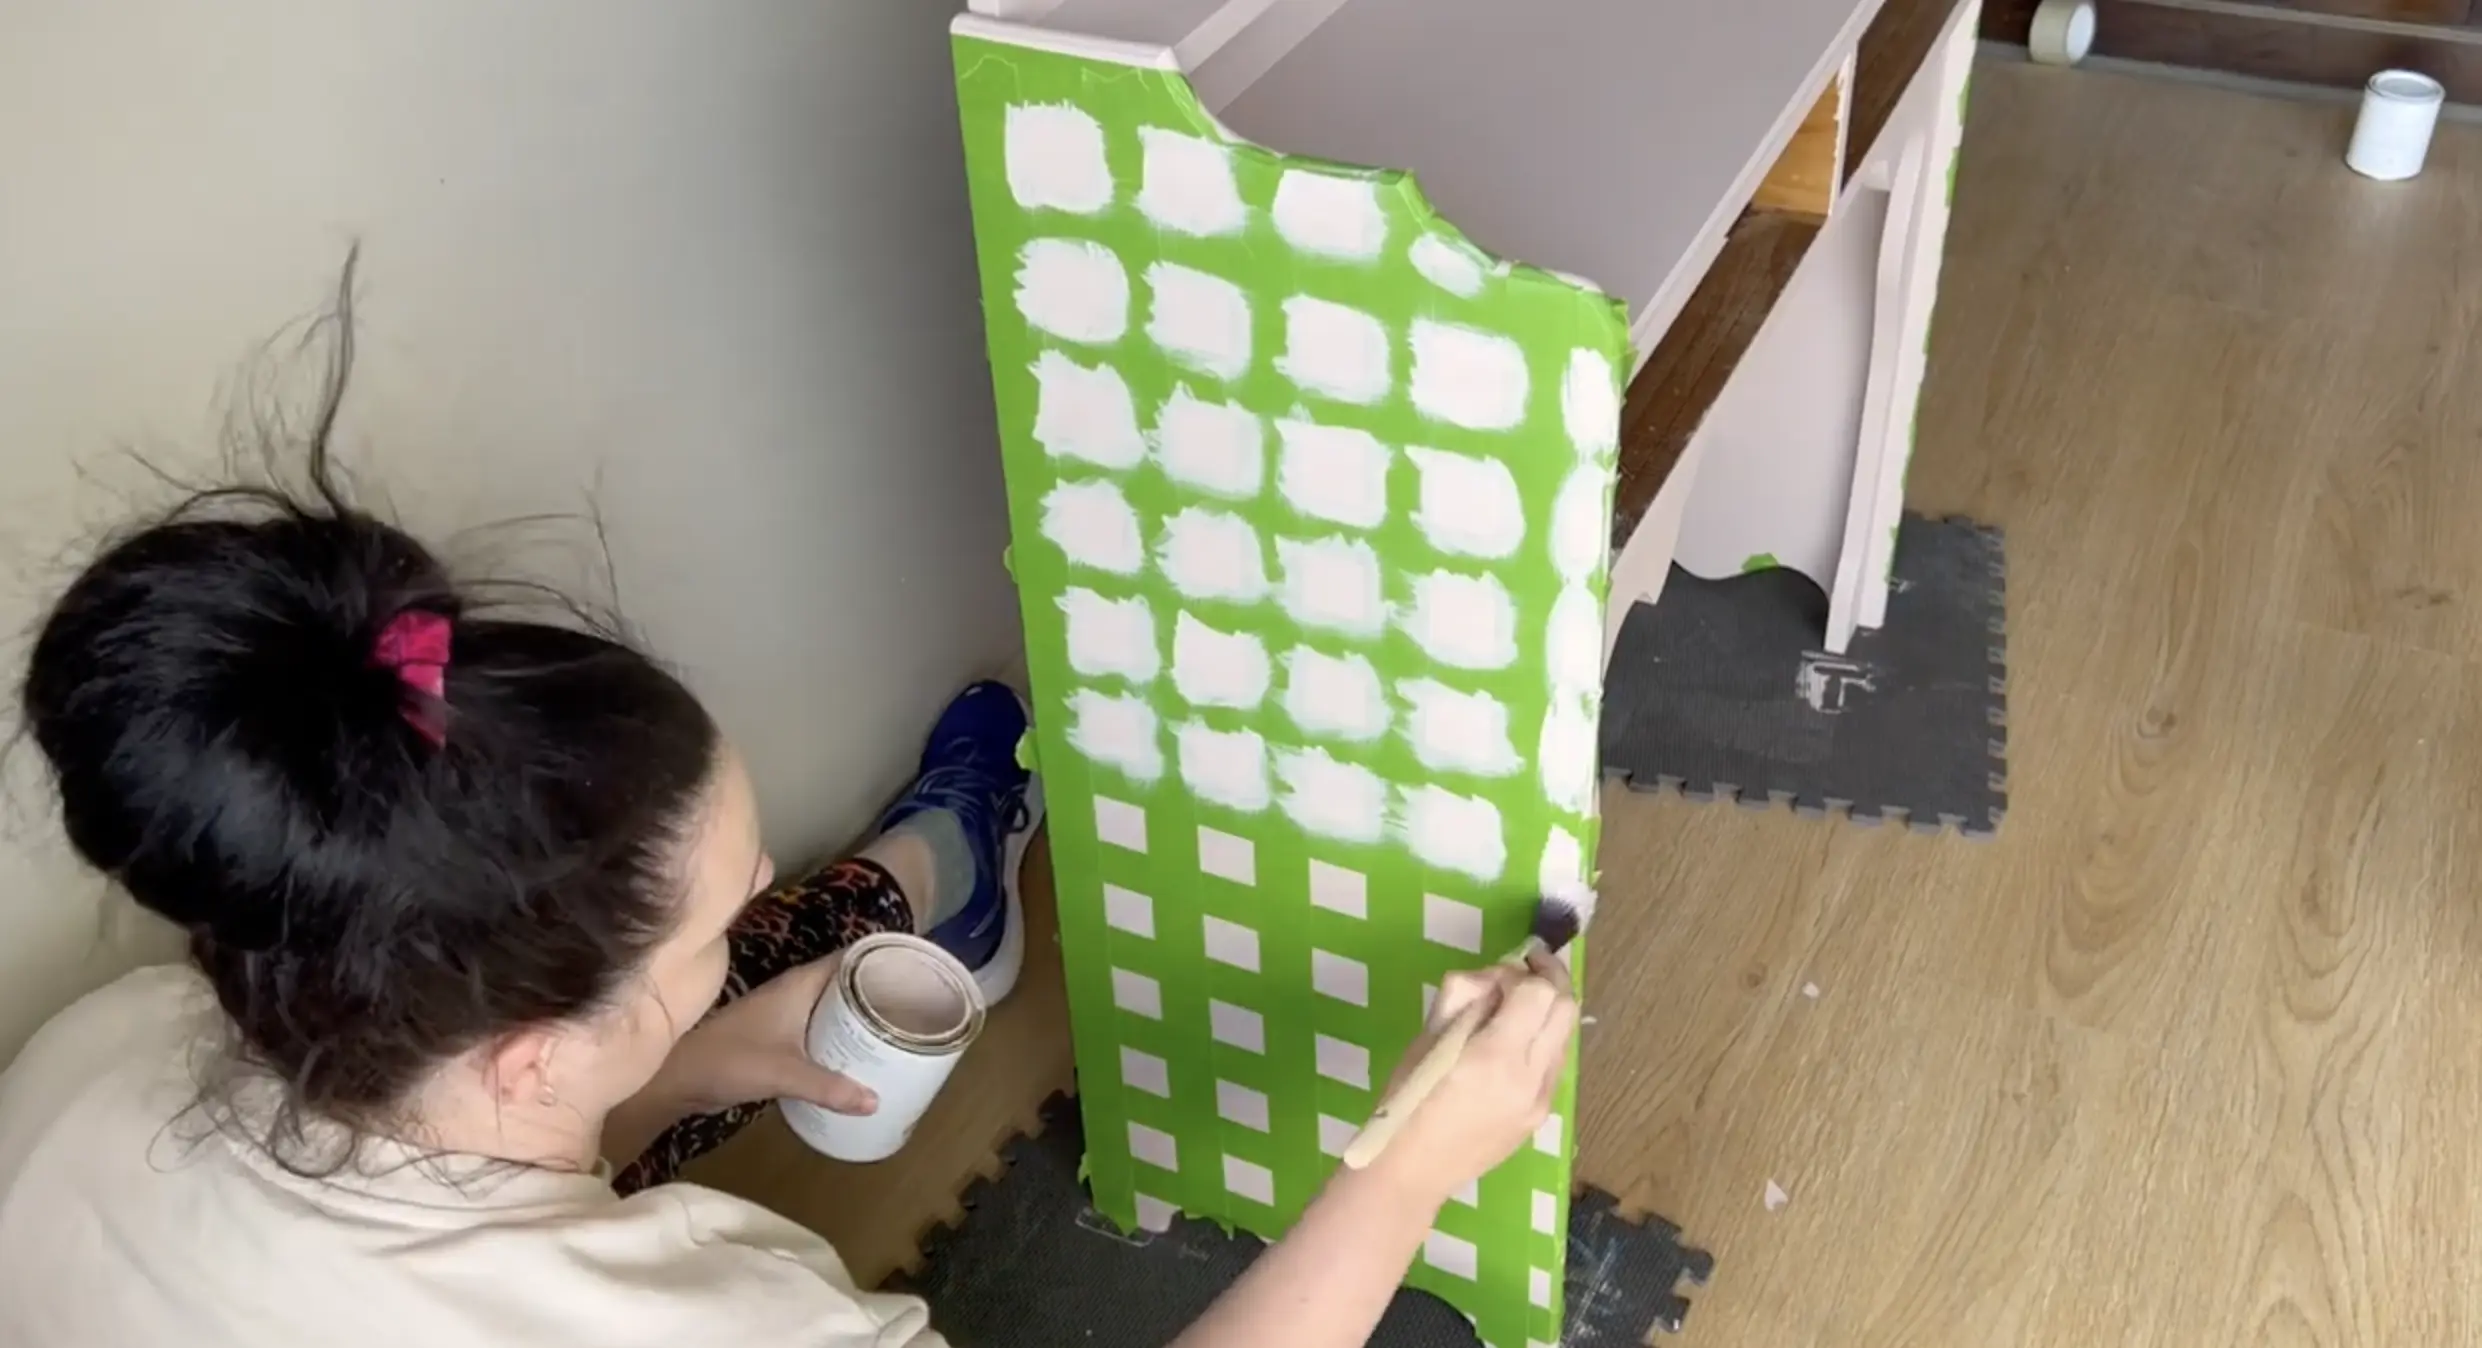
Once I finished all the painting, I put the piece back together again and then got to remove all of the masking tape to show my beautiful design.
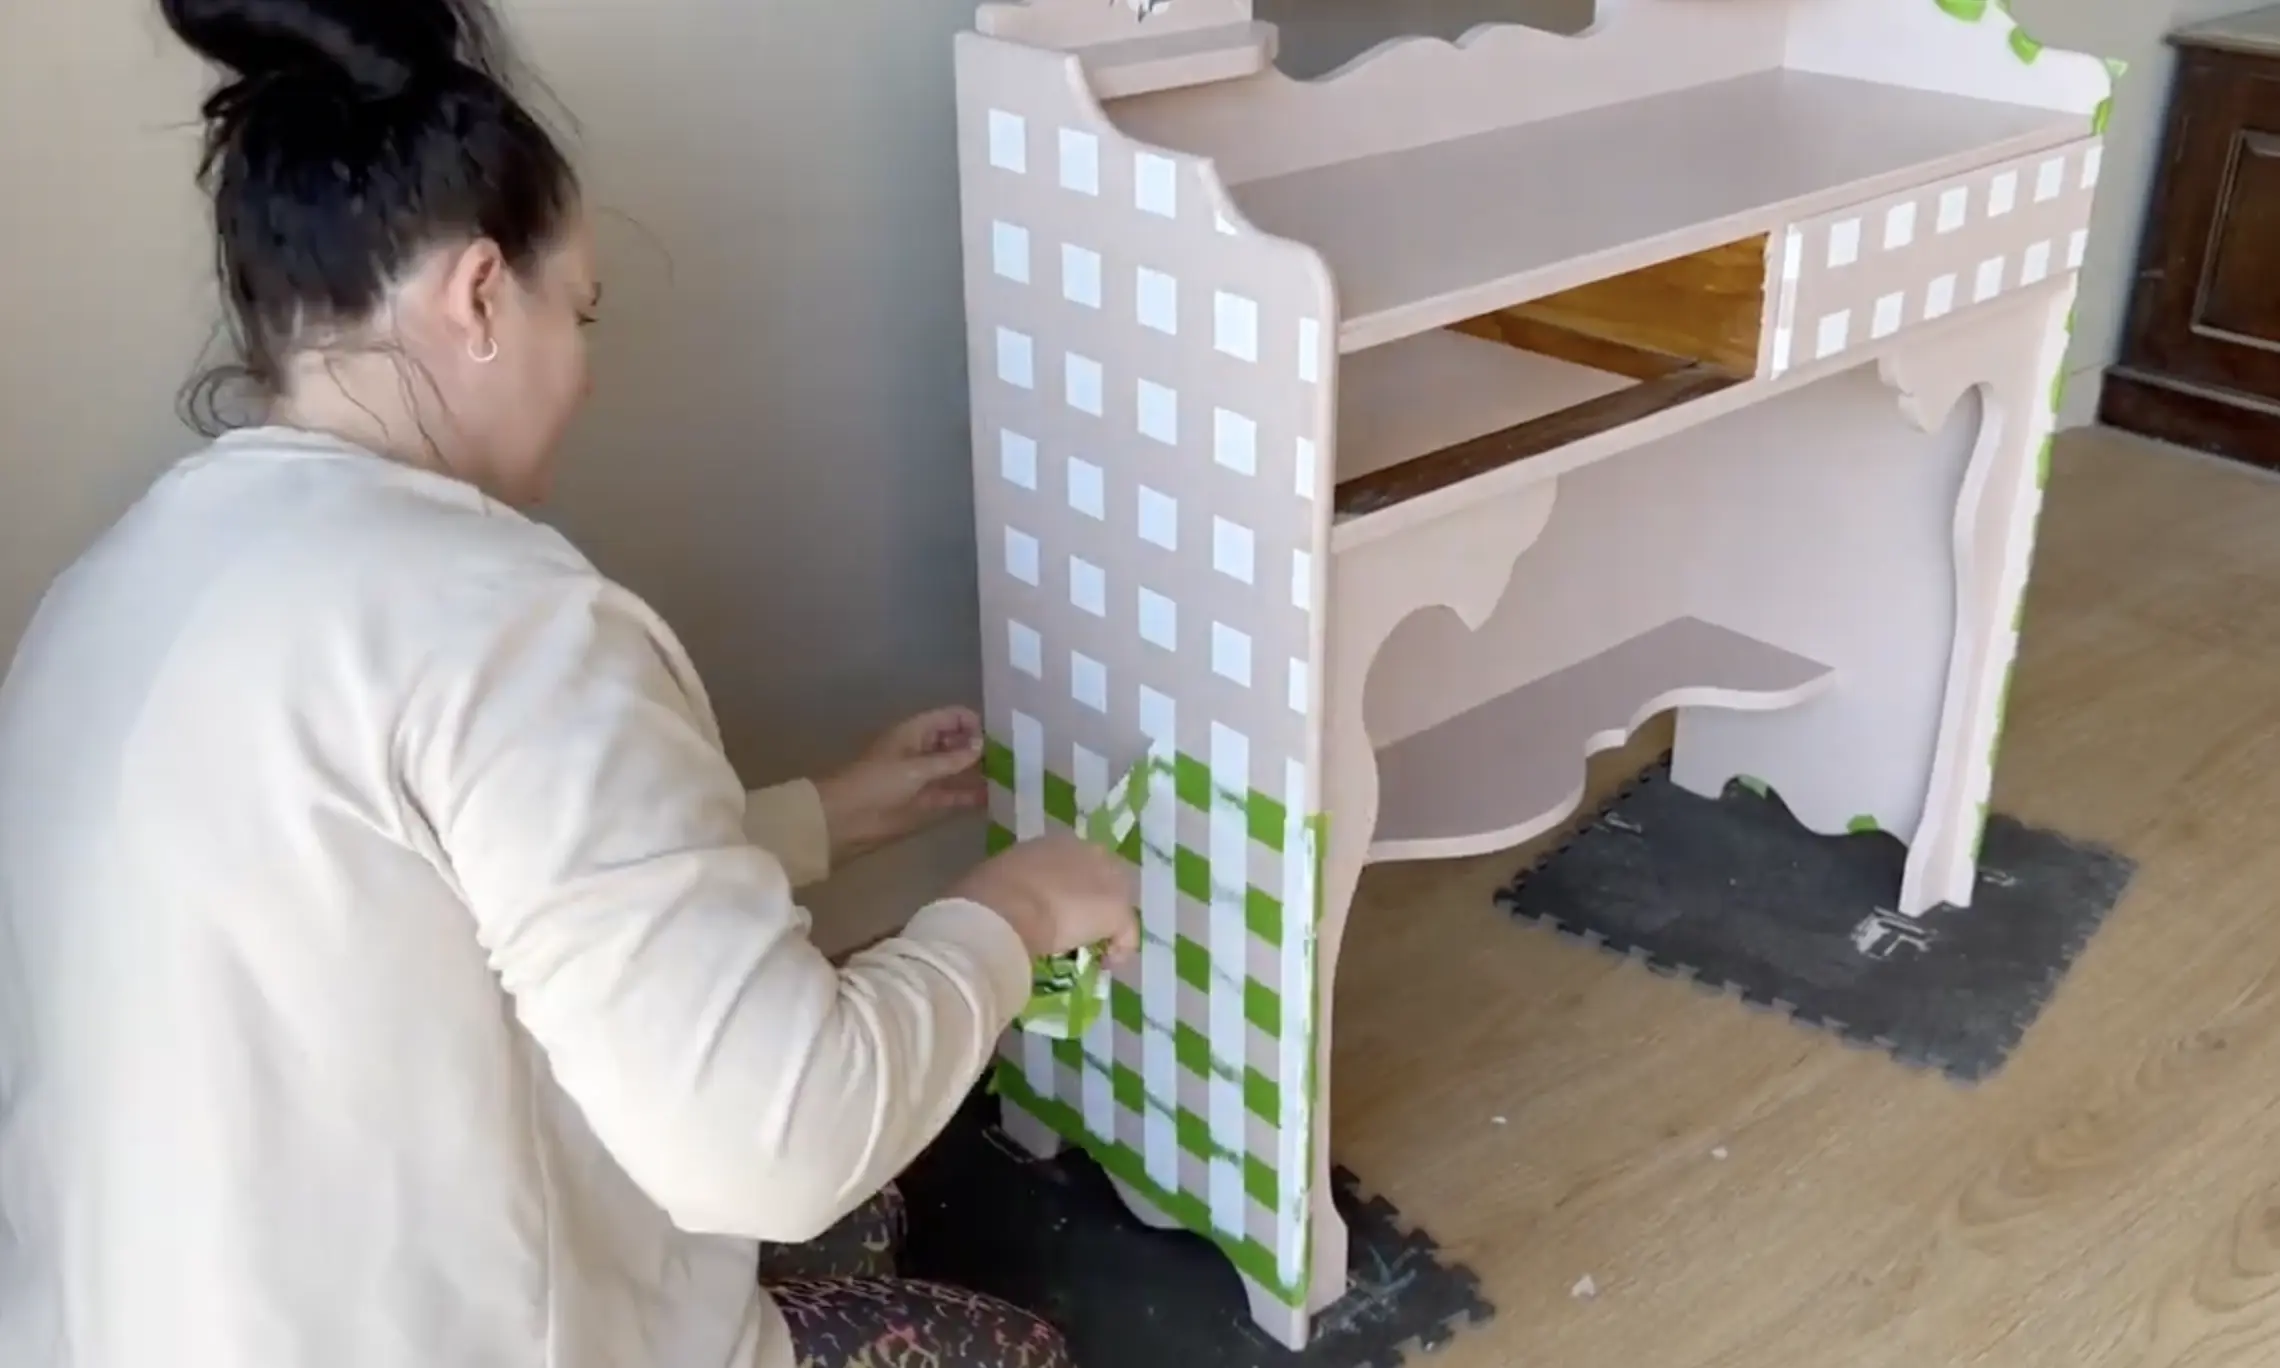
I selected some new hardware, drilled some new hardware holes, and then applied the new hardware onto the two drawers. And here it is, the end result. I absolutely love how it turned out and I hope you do too.

Say goodbye to bland furniture and hello to customised style. Not only will you save money by upcycling old pieces, but you'll also have the satisfaction of knowing you've created something truly unique. So grab your paintbrushes and let's get started on this creative journey together.
Watch the full tutorial 👇

